Pull yourself together, letter!
What you need to know about the new
GetCourse mailing editor
This is a constructor
The new mailing editor on GetCourse is a constructor. An analogue of what is used to create pages on the platform.
Headings, images, text blocks, buttons, columns - everything exists in the form of blocks with the help of which you assemble your letter. Perhaps this is the most significant difference from the previous version of our mailing editor.
But let's consider everything step by step. Let's talk about key aspects of working in the new editor.
Creating a letter
Now, when creating a new mailing, you can choose whether you will edit the letter in the old text editor or in the new one.
By default, a new letter will be created in the old text editor. To create a letter in the new editor, select “Templates” in the line “Edit mailing text”.
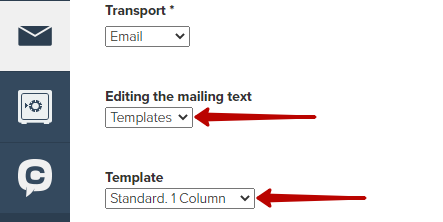
There are preset letter templates. You can choose a template with one or two columns, as well as a template for the “Orders” letter with the necessary variables preset in advance.
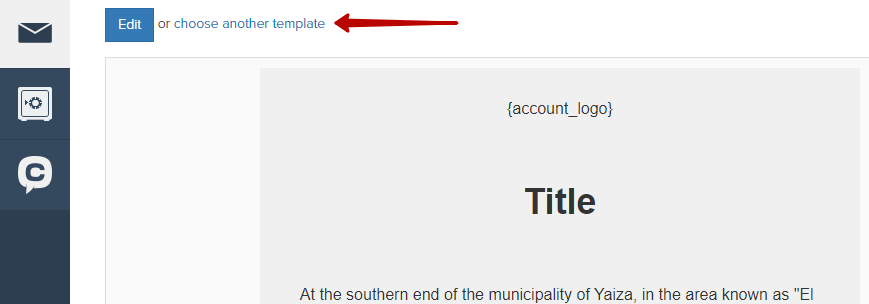
You can choose another mailing template after creating the letter.
Creating your own custom template
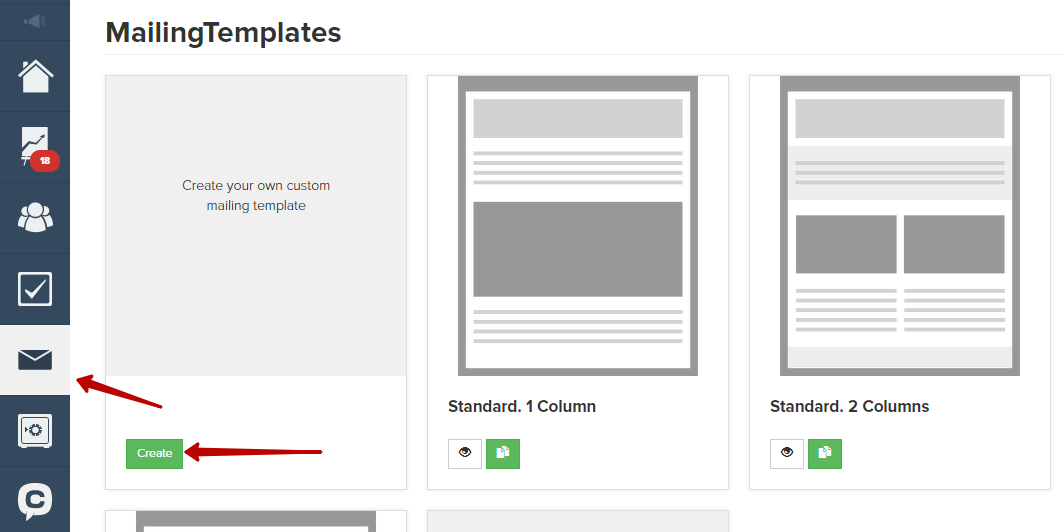
You can also create your own custom letter template. Go to “Envelope” in the left menu, then to “Templates”. Choose to create a new template.
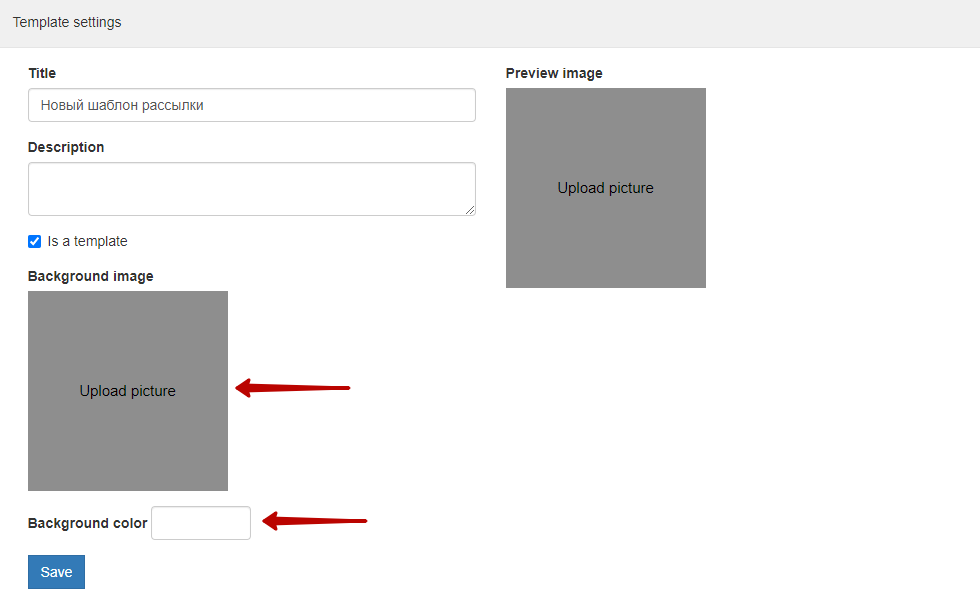
In the window that opens, name the template. You can also choose a background color around the main field of the letter or upload a picture for this background.
Design the letter, customize the blocks as you need, and save this layout as a template: click “Settings” in the upper right corner (in edit mode) and check the checkbox “This is a template”.
Now, when you create a new letter, this layout can be selected as a template.
But consider if you are creating your own template, the standard “footer” of the letter with the address, phone numbers, social media icons and other items will need to be made a block in this template letter.
Blocks as templates
By the way, any block - heading, text, picture, button - can also be saved as a template and then inserted into your letters.
Expand the menu in the upper right corner of the block and select “Save as template”.
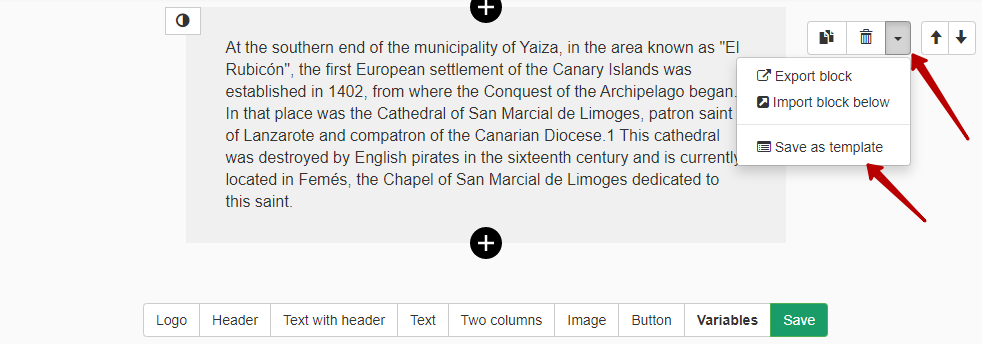
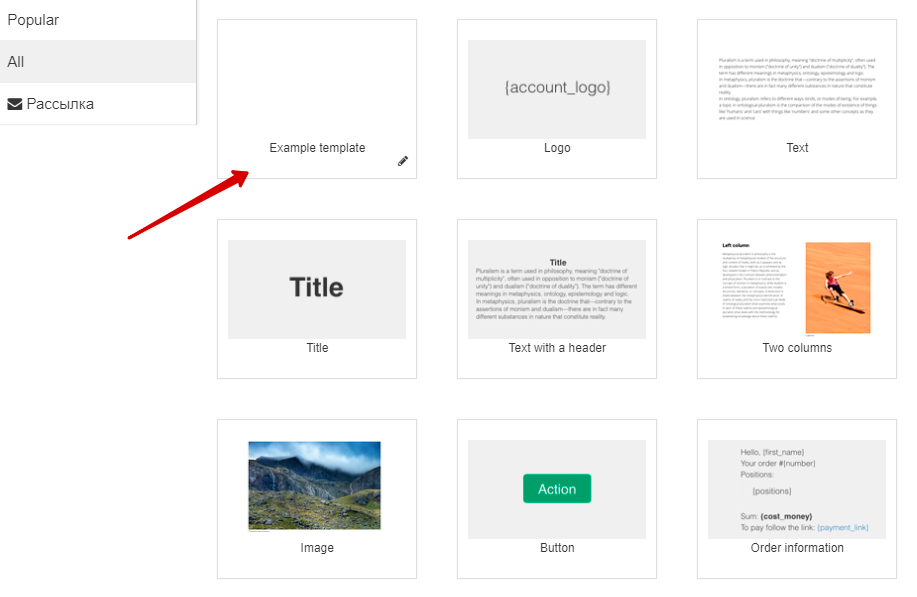
You can add such a template block as usual - press the plus icon and select your preset block.
Editing the letter
Everything is simple and intuitive. Add the necessary blocks - headers, text, images, buttons, columns with custom content - just like in the page constructor on the platform.
Any block can be styled the way you want - change the background, indents, text color, and more.
For example, you can change the background of a block (please note that by default it is not white) like this:
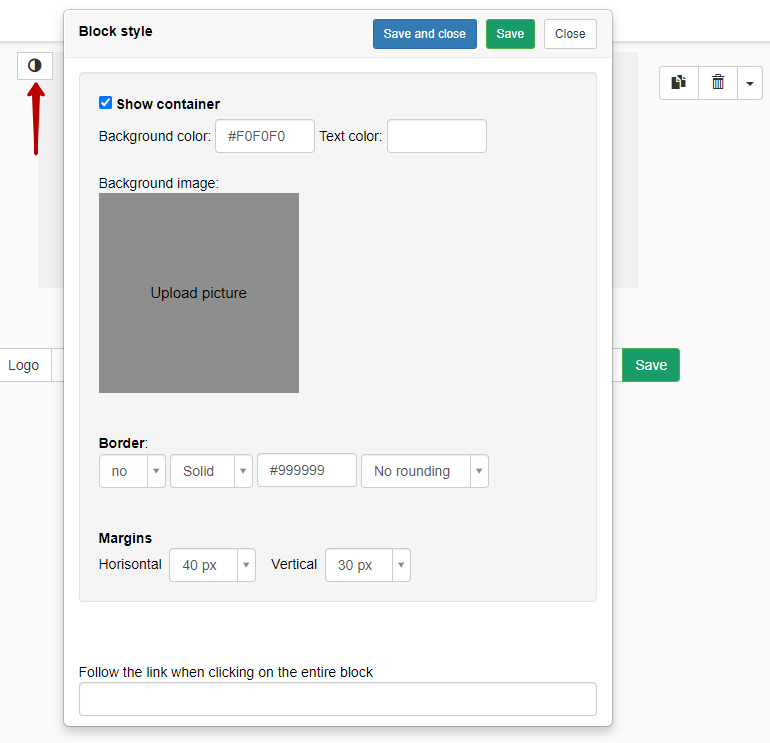
A little hint. Insert #ffffff in the “Background color” field to make the background of the box white.
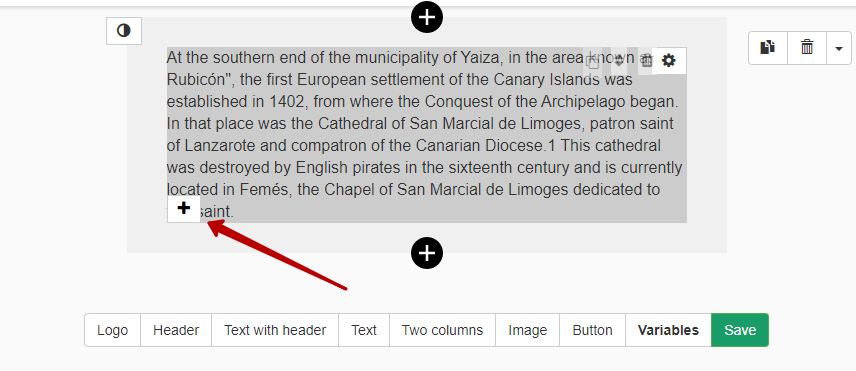
Each letter block can be supplemented with so-called sub-blocks - text, images, buttons that will be inserted inside the main block.
Click on the plus icon that appears at the bottom of the sub-block and add what you need.
Below is an example of how you can saturate a two-column block with content.
Variables
Letters, as before, can be created by “Users”, “Orders” and “Purchases”. All necessary variables will be “loaded” into the editor.
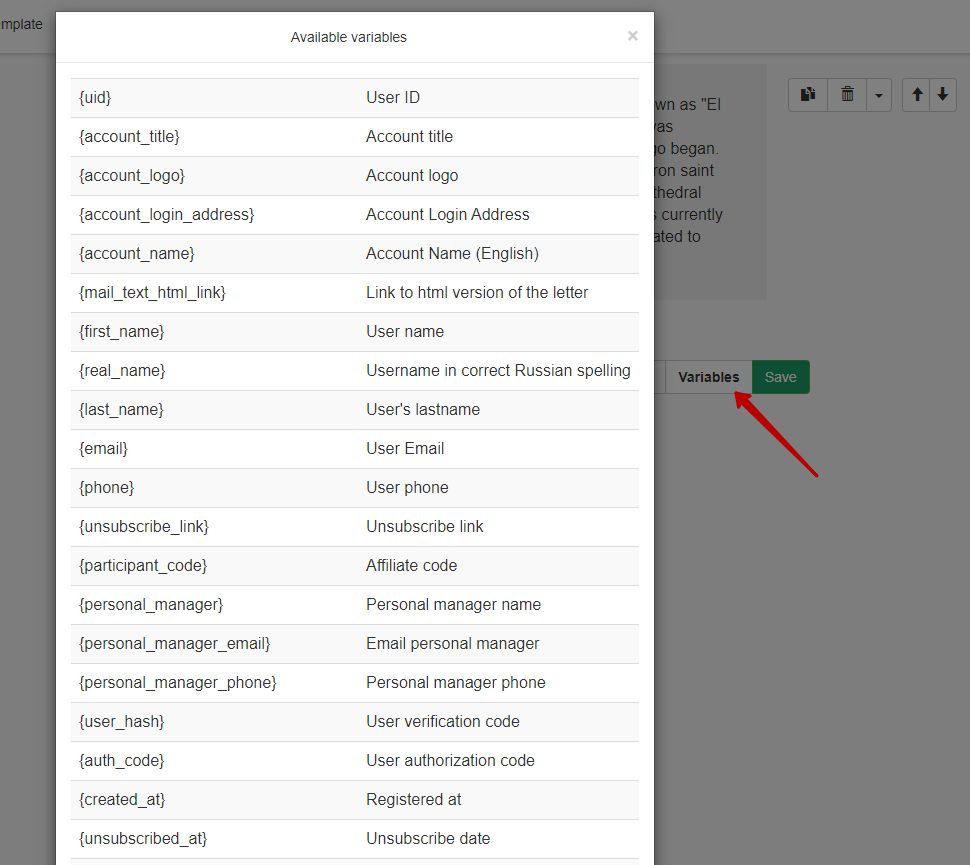
Save and...
And of course, don’t forget to save the letter while in edit mode.
We use technology such as cookies on our website to personalize content and ads, provide media features, and analyze our traffic. By using the GetCourse website you agree with our Privacy Policy and Cookies Policy.

please authorize